 Puttyの秘密鍵を、複数持っている場合、秘密鍵を、Windowsのスタートアップに保存してみることは、皆さんやってきたのではないでしょうか?
しかし、実際にやってみると解りますが、秘密鍵が自動的に全部読み込まれません。そんな時にどうするか?
グーグル先生に聞いてみると、参考サイトに、いいことが書いてありました。手順は、下記の通りです。
- 秘密鍵を一箇所に集める。
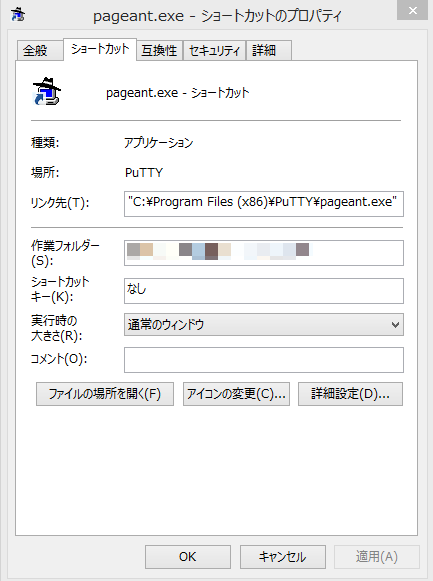
- Puttyのインストールしたフォルダにある、”pageant.exe”へのリンクファイルをひとつ作成する。
- 2.で作った”pageant.exe”へのリンクファイルの、「作業フォルダ」を、1.でまとめた、一箇所に集めた秘密鍵のフォルダに指定する。
- 2.で作った”pageant.exe”へのリンクファイルの、「リンク先」には、秘密鍵を列挙する。
- 以上で作った”pageant.exe”へのリンクファイルをWindowsの「スタートアップ」に保存する。
上記4.のリンク先は、下記のように指定します。
“C:\Program Files (x86)\PuTTY\pageant.exe” key1.ppk github.ppk aws.ppk “日本語ファイル名秘密鍵.ppk” “C:\User\USERNAME\.vagrant.d\insecure_private_key.ppk”
Windows8.1のスタートアップは隠れております。どうして隠す必要があるのか、この辺は都合上なのでしょうか。私には解りません。
どこに、スタートアップがあるかは、下記に隠れておりますよ。
C:\Users\USERNAME\AppData\Roaming\Microsoft\Windows\Start Menu\Programs\Startup
AppData以下は隠しフォルダなので、見えない人は、見えるようにしましょうね。
そこまではWindowsに親切ではないので教えません。 😉
このスタートアップに、先ほど作った、”pageant.exe”へのリンクファイルを保存すればいいのです。これで万事おk。
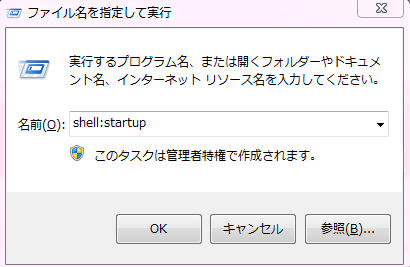 ※スタートアップフォルダは次のようにしても開きます。(Windows 7,Windows 8.1で動作確認しました。)
Windowsキー+rキーを押しまして、コマンドは、
「shell:startup」とします。
するとスタートアップ画面が開きますよ! お試しあれ!
参考:http://mistymagich.wordpress.com/2013/10/18/how-to-automatically-start-pageant-with-loading-private-key-files/
参考:http://blog.livedoor.jp/haruka_sao/archives/52019677.html

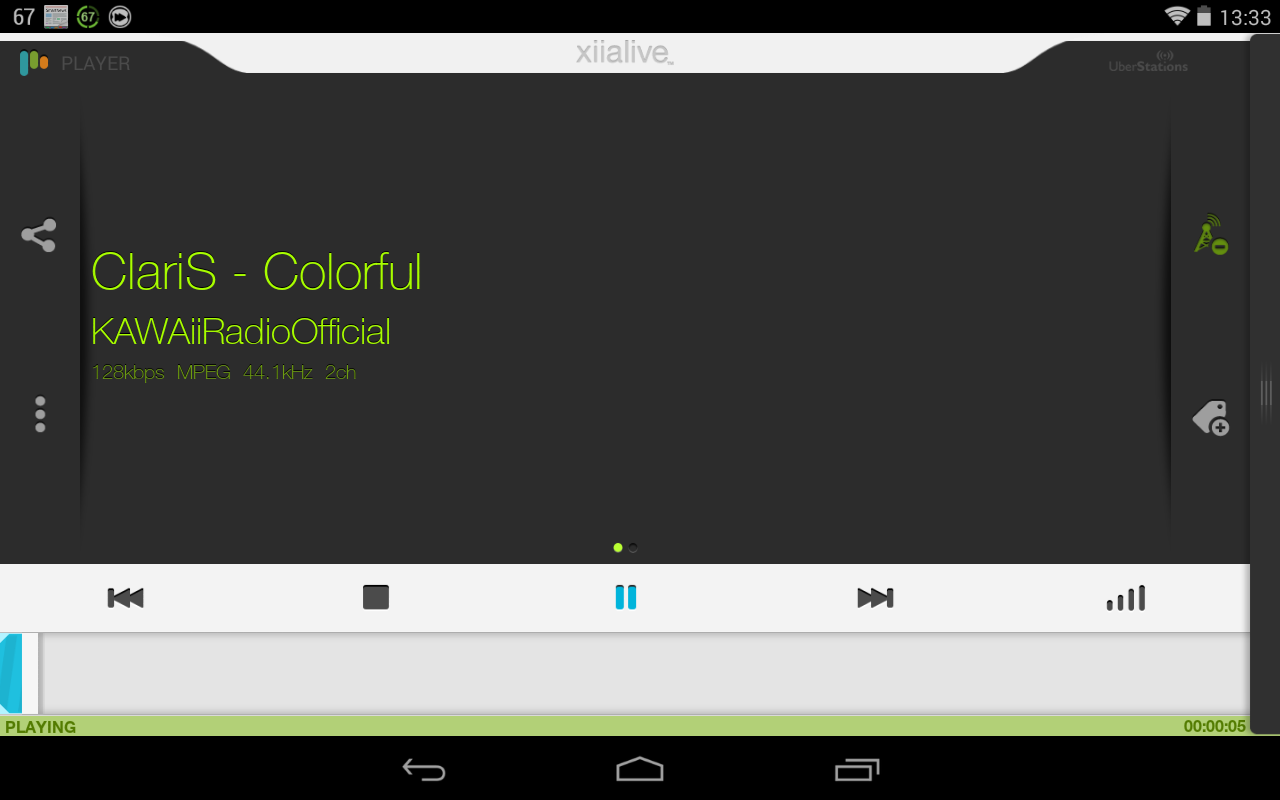 私は、Androidの4.4.2と、XiiaLiveの通常版、Pro版で、音楽を聴いていると、タブレットのボタンを押す度に、ハウリングが起きて困っていましたが、XiiaLiveのBeta版では、音の不具合なしに、音楽を聴くことが出来ております。